 Here are some pictures from my paddle today.
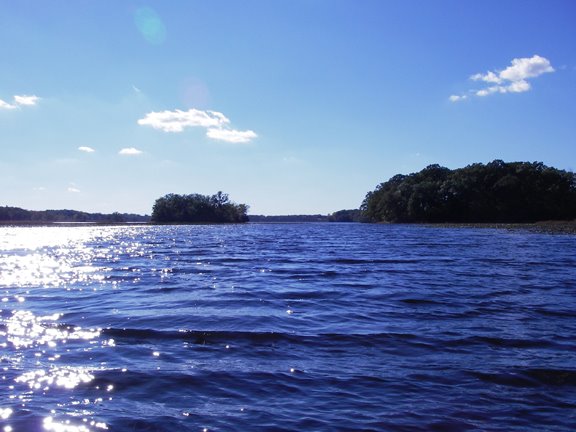
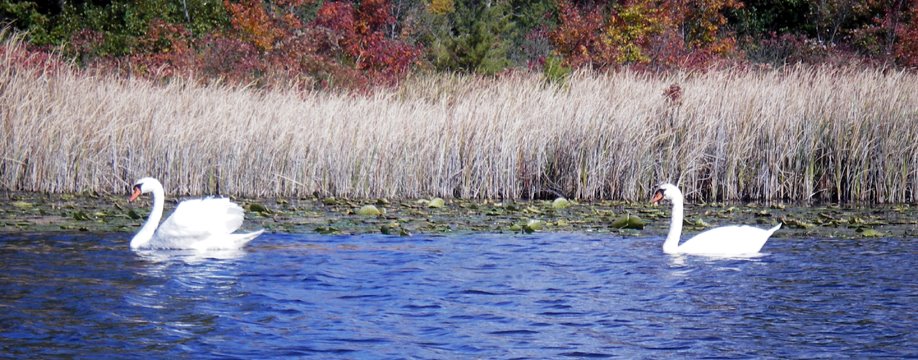

 Here are some pictures from my paddle today.
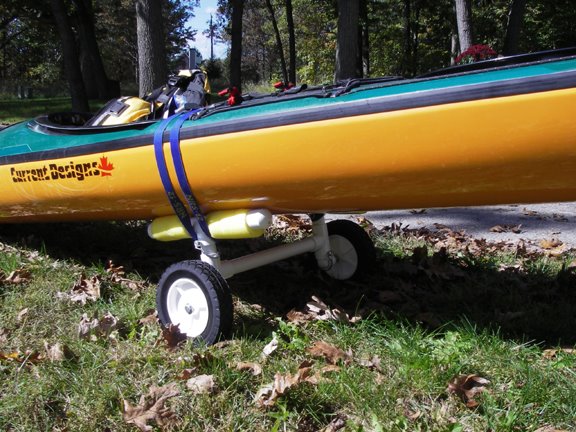
 Because I live so close to some great paddling water (about 300 yards), I built my own portage cart. Parts include 1 1/2 PVC, a "pool noodle", some steel pins with spring retainers, and a nice set of tires, that are too heavy, and too expensive. I originally found a couple of pictures on the web that gave me all of the required info. My little cart is working very well, but I have a couple of small manufacturing flaws that are resulting in a slow breakdown. The heavy wheels and my constant overloading of the cart put a lot of stress on the PVC where the retainer pins cross through, and the holes are tearing out. One day soon, it will need a serious rebuild. The cool thing is: I now know where I got the dimensions correct, and where I came up short. I just need to find a new set of wheels that are lighter in weight. This particular set actually have sealed ball bearings in the hubs. Total overkill. I just hope that it lasts until winter.
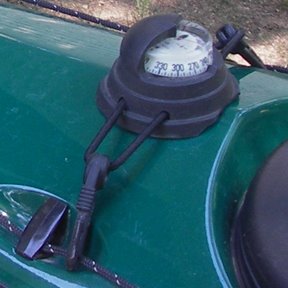 I wanted to place a bungie with some beads here where the compass is so that I could place a spare paddle on the front deck, and with the compass located like this, it was really getting in the way.
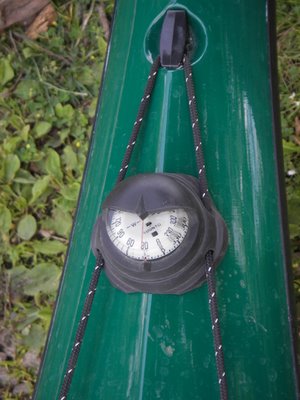 Here is the new location of the compass, I just threaded the deck lines through the existing holes in the base of the compass, and it is now sort of permanent. I stared at the deck lines on my CD Gulfstream for a long time before I did this though. The deck lines were very tight. I don't know if this is common for all kayaks, but Current Designs puts a lot of tension on them. I was trying to figure out how they make them that tight. The only way I could figure is that they leave the last recessed cleat loose, when they thread the deck line and tie the knots. Then when all of the knots are tied, they then mount the last cleat. Anyway this is how I took the deck lines off, threaded a couple of beads and the compass, and then retied the knots, then totally abused my fingers while pulling the cleat back into place and held it while I tightened the screw.
 This view shows the new bungie with beads, and the compass located further forward. I can still read the compass easily, and being further forward, is less likely to make me seasick when viewing. The beads work very well for stuffing a GP paddle under, and they work so-so for stuffing the shaft ends of my euro splits under.


 Finish sanded and ready for epoxy on the tips and a couple of coats of tung oil. I still need to burn my initials and the date into it also. It turned out pretty good, and I'm happy with it.
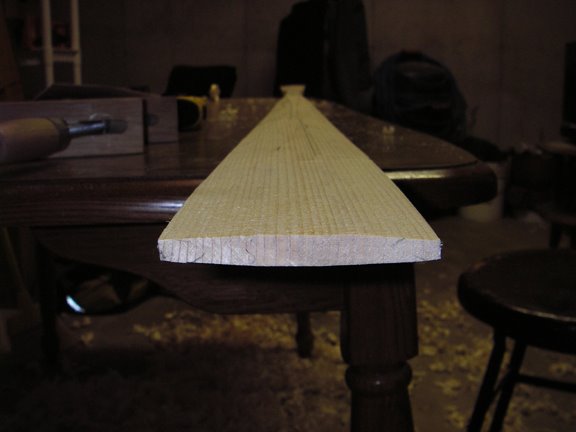 This picture shows the end after I roughed out the contours.
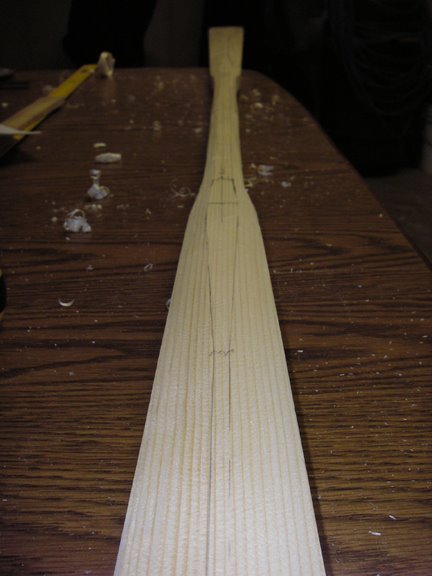 Here is a picture showing more of the contours after roughing out.
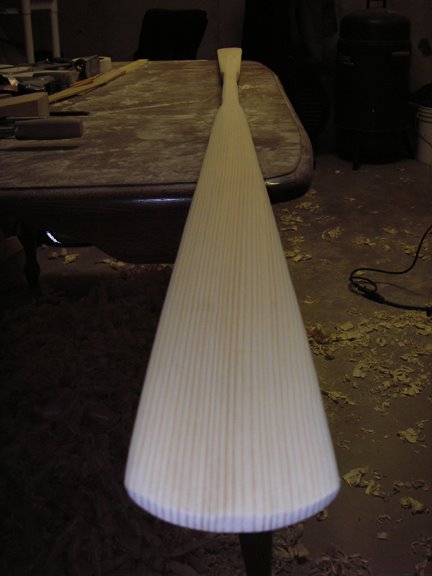 Here the ends are trimmed and rough sanding has been started. The random orbital sander, loaded with 60 grit, does wonders for smoothing out the planer marks and true-ing up the edges. I still need to thin the tips some more. It's not perfect, but it is all mine. It really is cool to hold something in my hands that I made myself.
 Here it is after roughing out with the bandsaw.
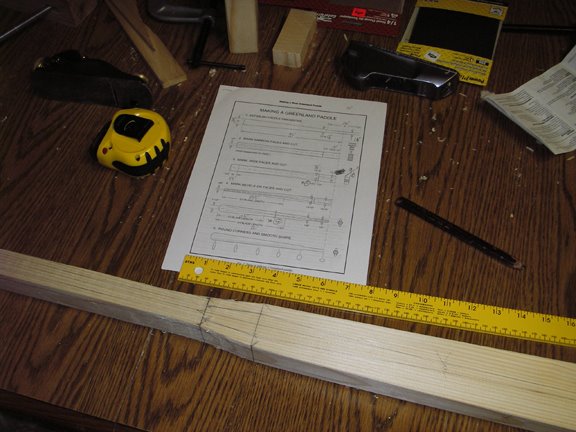 Here after I cleaned up the edges, and started to layout contour lines. Next step will be to knock the corners off. It is even starting to feel like a paddle.
 This is a really ugly 2x12, with one good edge.
 Now its a pretty decent 2x4.
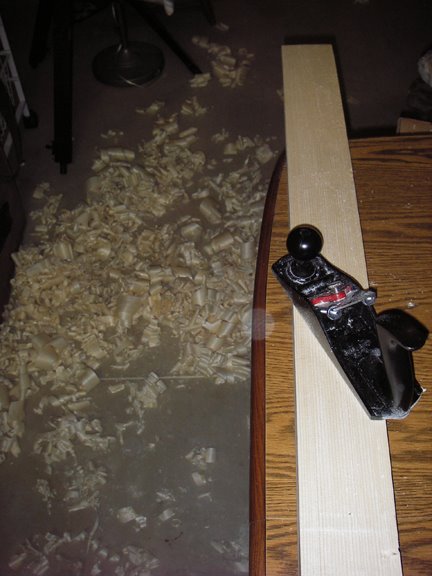 The jack plane is my friend, a rather stubborn and obnoxious friend, but in the end my new friend.
 Tapered to 1/2" at both ends.
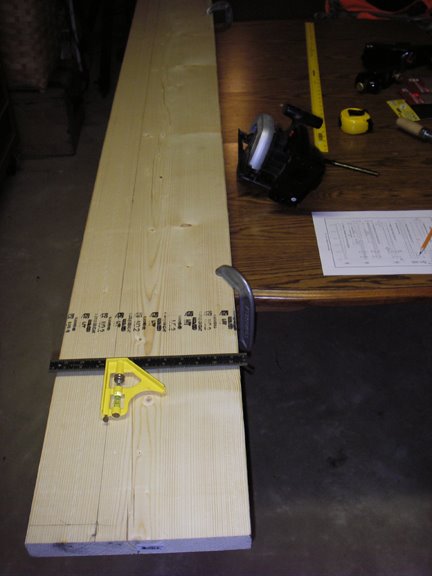
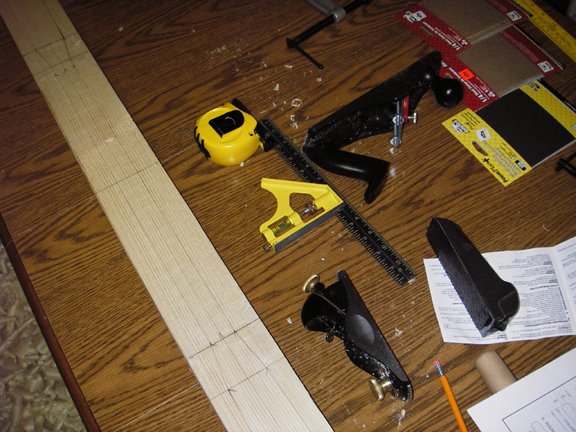 Layout for cutting.
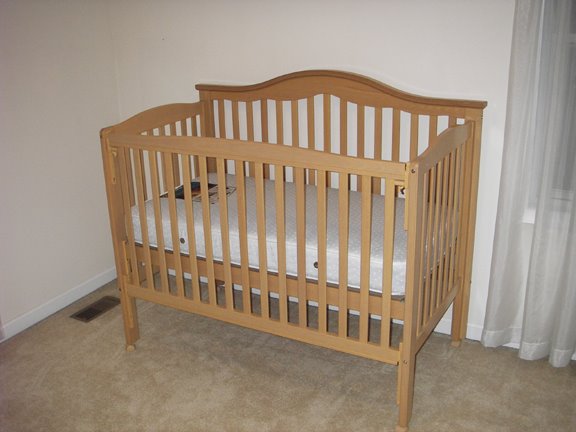 Here is a little project, that has been keeping me busy. I had to retrieve this from my sister's house, and then assemble it. Look's pretty official now, doesn't it?
